Posted April 04, 2019
Soil Sampling Tips
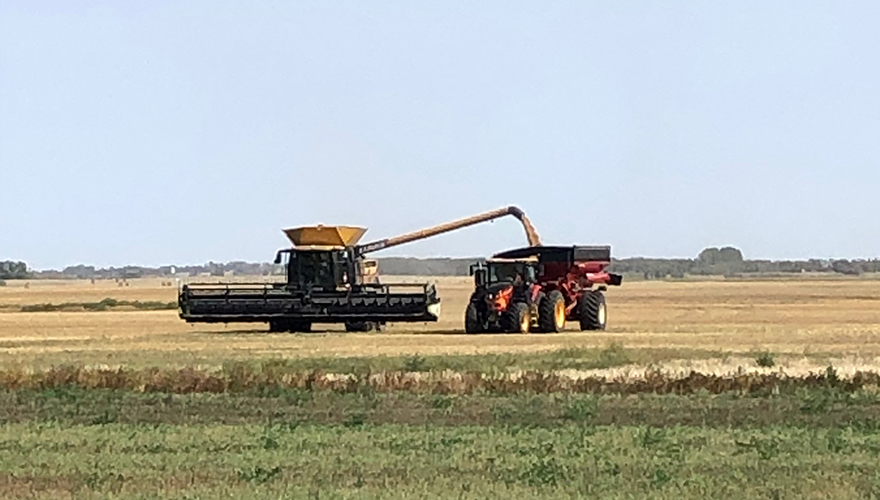
With seeding quickly approaching in many areas of the Prairies, now is a good time to assess your soil. Taking soil samples now will provide the most accurate nutrient levels prior to seeding. However, spring soil sampling doesn’t allow much time to change seeding plans if need be.
Soil sampling provides an index of nutrients in the soil. “These indexes can be used to look at nutrient uptake and removal patterns in fields, and for fertilizer recommendations on farm,” says Brianna Lummerding, manager of agronomic services for Nutrien Ag Solutions in north central Saskatchewan.
Soil sampling should be completed every year. If it’s not possible to sample all fields every year, sample each field every three years. “This can be done by splitting total fields in thirds and sampling only one third of total fields each year. This will provide a representative overview of field nutrition on farm,” says Lummerding.
If fall soil sampling is done correctly, results can closely mirror spring results. “Fall sampling should be completed as close to freezing as possible (soil temperatures consistently at 5 to 7 degrees Celsius). Fall sampling will provide more time to analyze results and plan accordingly,” says Lummerding.
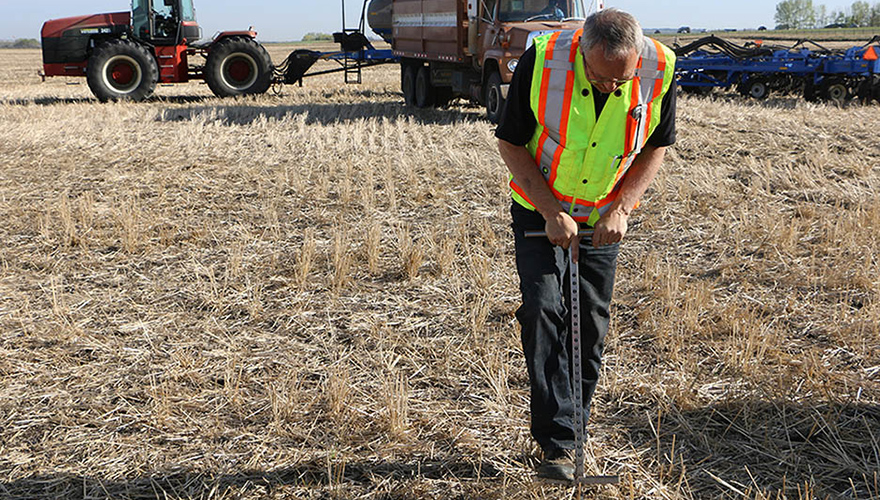
There’s a lot to keep in mind when sampling your soil. Take control of the soil sampling process with these tips from Lummerding.
- Soil sampling type and depth of samples should be based on land type and nutrient analysis desired
- If completing diagnostic soil sampling, take samples from both a poor and good area to look for limiting factors
- Use a one-piece soil sampler with a tip and tube that collects the sample
- Another option is a Dutch auger which allows for easier sampling at deeper depths
- Bring a clean bucket for collecting and mixing soil as well as sample bags provided by a soil test lab. Use WD40 to help the soil come out of the soil probe more easily
- Sample at a depth of 0 to 6 inches for P, K, OM, pH and micros; and 6 to 12 inches for N and S
- 0 to 12-inch samples will provide a good representation of N, P, K, S, OM, pH and micros if you only want to complete one soil test
- A minimum of 15 to 20 samples (cores) should be taken from each field or benchmark area. The more samples taken, the more representative the sample of the total area
- Sampling via GPS location and marking will bring you back to the same spots each year for overall accuracy and nutrient tracking
- Whole or random field sampling is best in a uniform field in soil and topography. Areas of extreme productivity variance should be avoided so results are not skewed
- Benchmark or zone sampling are good options in non-uniform fields. Each zone or benchmark area should be sampled separately to identify differences among areas of the field
- Benchmark sampling is sampling a small area of the field (usually just a few acres) that is representative of most of the field or area. If the field is fairly even, one benchmark of the average area should be selected. If the field is not uniform, more than one benchmark sample should be taken to consider differing areas of productivity. These same areas should be sampled each time the field is sampled
- Soil samples should be stored in a fridge immediately after sampling and then sent to the lab as soon as possible
- Avoid sending on Fridays as samples may sit in the delivery truck in warmer conditions over the weekend, possibly altering results
- Not all labs have the same nutrient extraction methods. Labs that provide a Modified Kelowna method of phosphorus extraction will provide the phosphorus soil levels more accurate to Western Canadian soils
Echelon
Soil sampling remains an important practice, even when using a variable rate fertilizer program, says Amy Sayer, Echelon regional account manager in north central Saskatchewan. “Since variable rate capitalizes on high productivity zones, and manages lower productivity zones, it’s important to understand the variation of nutrients in those areas,” she says. “Maximizing the return on your fertility investment involves the accurate placement of nutrients in the right place and at the right rate.”
Echelon from Nutrien Ag Solutions can develop an HD (high definition) map of the field that will illustrate the variation. The HD map will define the high and low productivity zones, which can be used to target soil sampling, says Sayer. “After an HD map is created, you can pinpoint soil sampling zones across the field before taking samples. This increases accuracy of sampling and allows you to return to the same location in the field, year after year.” With HD maps from Echelon, you can sample the high and low productivity zones and compare them; sample the average areas of the field; and/or sample the problem zones.
FEATURED LINKS
NEWSLETTER
Want to stay caught up in all things agriculture? Sign up for the newsletter and get all the latest news straight to your inbox.

Maximize Spring Burndown Leci-Tech
Posted April 08, 2019